Monero Nodes
Running a node is the easiest way to be a part of the Monero network. Running a node serves to distribute blockchain history and relay new transactions. Nodes communicate with eachother and enforce protocol rules.
Running a node is as simple as downloading the Monero GUI/CLI wallet software and letting it run until the node is synced.
Download the latest Monero release at getmonero.org/downloads

Monero Node Hardware
Start9 OS – Monero node on your personal Start9 server
Monero PocketNode – A Monero node for your Android Device.
Monerod-in-Termux – Run a Monero Node on Android using Termux
Monero Nodo – Monero Full Node on powerful hardware
Monero Node for Umbrel – Run a Monero node on your Umbrel personal server.
PiNodeXMR – Run a Monero node on Raspberry Pi
Node Explorers/Lists
Monero Node Scanner – A tool to scan the Monero network for nodes.
monero.fail – Monero Public Node List.
ditatompel – Monero Public Nodes List.
Datura Network – Monero Public Nodes List.
Monero World – Monero Public Nodes List.
Resources for Node Runners
check-monero-seed-nodes – A script to check the status of Monero seed nodes
xmr.sh – xmr.sh script wizard sets up a new server running a monero node daemon with Docker compose, with your choice of SSL certificates for your domain, network selection, a Tor hidden service, Grafana dashboard and more.
Monero Suite – Build your personal docker-compose.yml file for Monero services.
Simple Monerod Docker – A simple docker image for running a Monero node.
onion-moner-blockchain-explorer – run your own Monero blockchain explorer.
Guide – Running a Simple Monero Node
Step-by-Step
Guide to running a node with the Monero GUI wallet software. Or run the node without the GUI wallet.
Step 1
Download the Monero GUI wallet, from the link above, install and run the program.
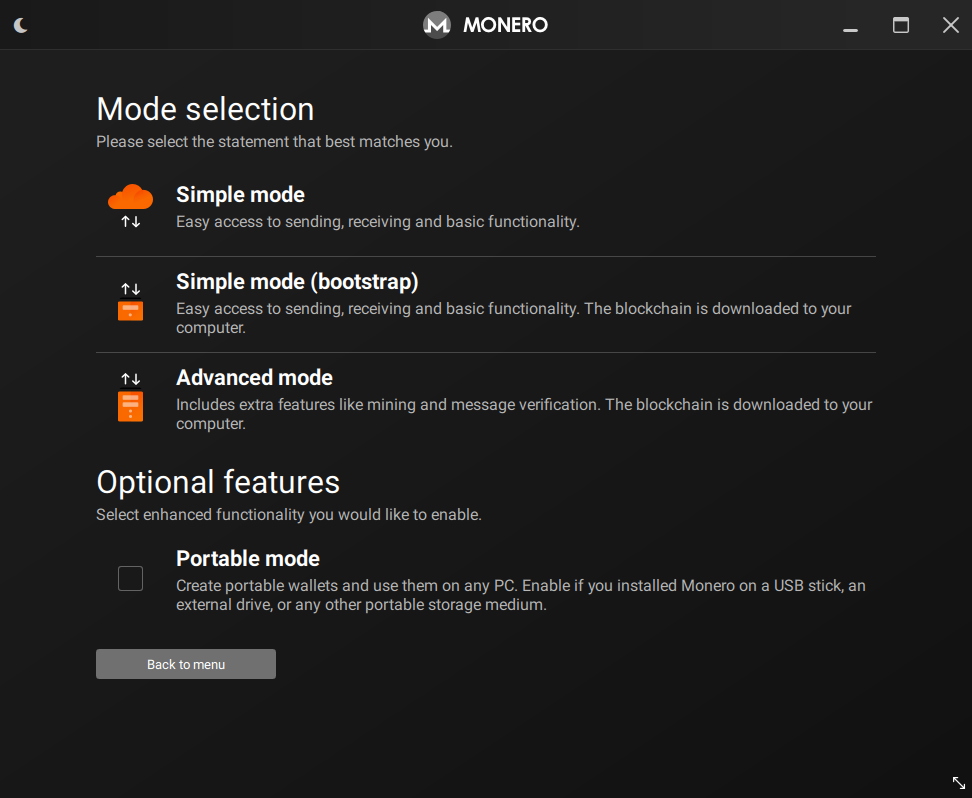
On the Mode selection screen, select either “Simple mode (bootstrap)” or “Advanced mode”
You can change the mode later if you wish.

Step 2
Now you will create a wallet.
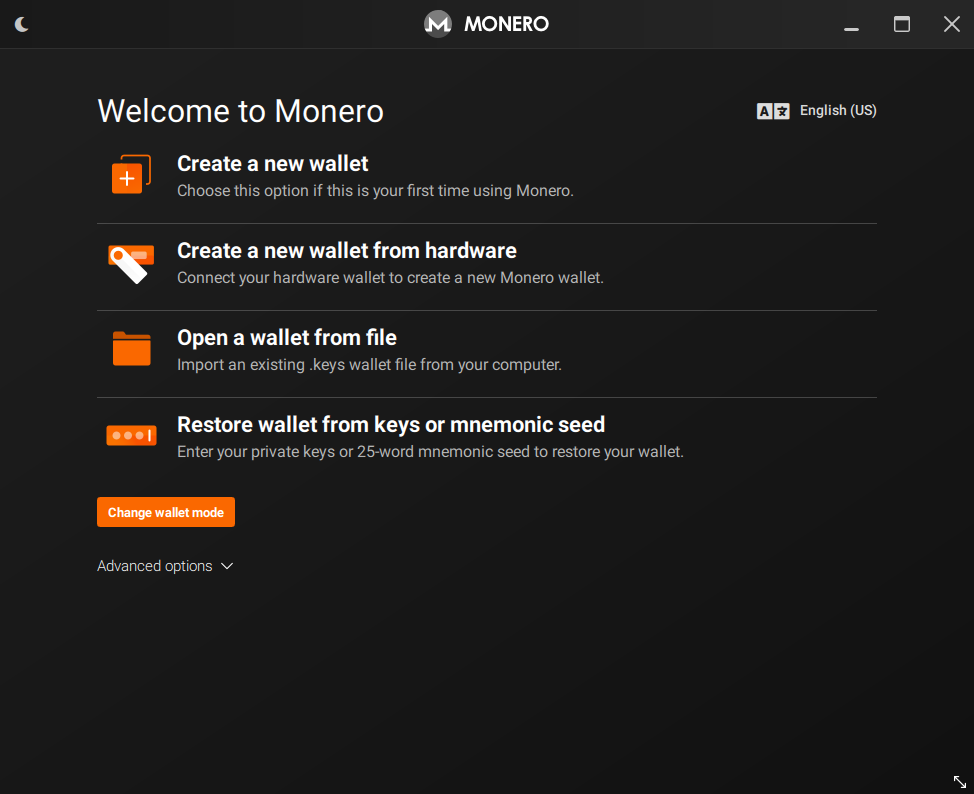
Select “Create a new wallet” and follow the on-screen instructions.
MAKE SURE TO WRITE DOWN YOUR RECOVERY PHRASE IF YOU INTEND TO USE THIS WALLET TO STORE MONERO.

Step 3
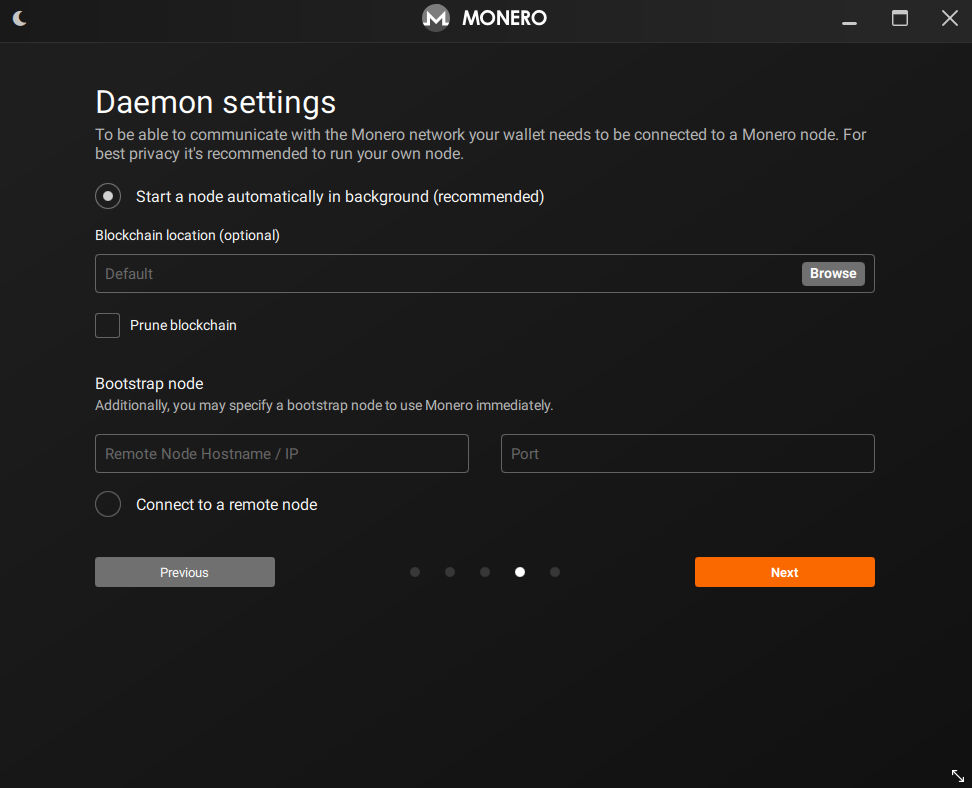
In the Daemon settings screen, select “Start a node automatically in the background”
In this screen you can optionally choose where the blockchain data will be saved. The Monero blockchain will take up approximately 206GB of space on your computer as of 2024.
You can select the “Prune Blockchain” option to reduce the size of the blockchain data you store on your computer down to 80GB as of 2024.

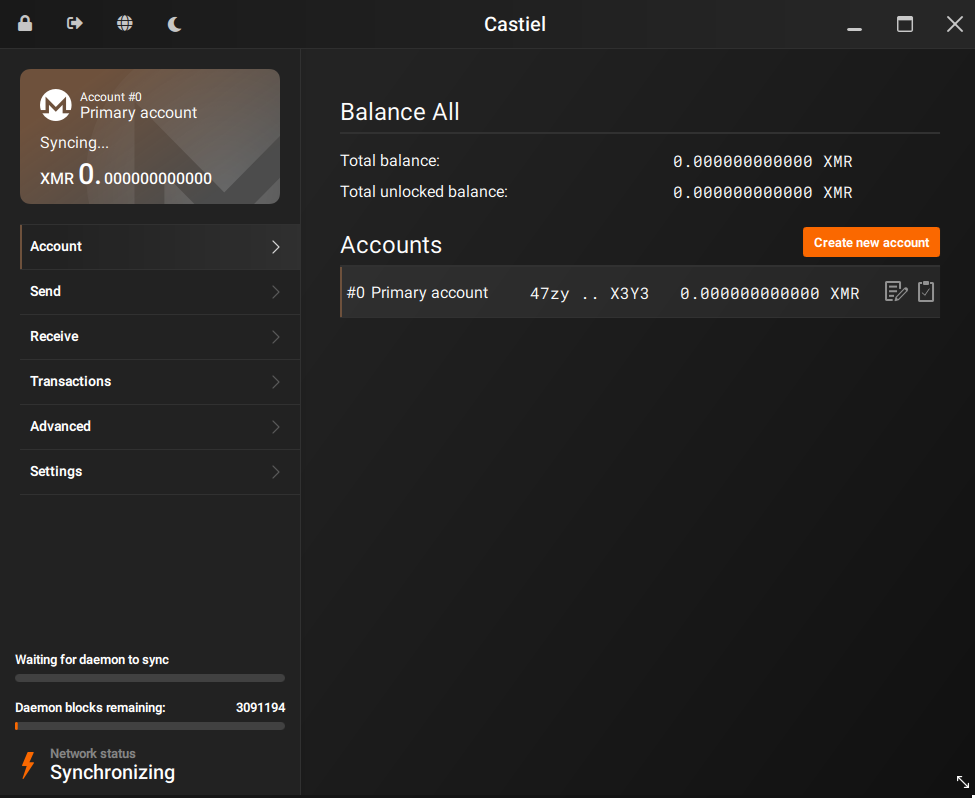
Congratulations! You are now running Monero!
The node is synchronizing with the network. The progress is displayed on the bottom left of the screen.
Leave this running and it will do its job!

Run a Monero node without the GUI wallet
Step 1
Download the Monero GUI or CLI wallet from the link above and install it or extract it to your location of choice.
